

Step-by-Step Guide to Installing Your Piano Shower Set at Home
It’s surprising how much a single bathroom upgrade can shift the entire vibe of your space. Sleek, modern, and efficient piano shower sets are becoming the go-to choice for homeowners who want elegance without overcomplication. But when that beautiful new set arrives, many are left staring at the box wondering, "Where do I even start?"

This guide breaks everything down in plain, simple steps. You don’t need to be a professional plumber. You just need the right tools, a bit of patience, and a clear understanding of the process. Let’s walk through how to install your piano shower set at home like a pro.
Get Your Shower Area Ready
Before you open any tools or start unboxing, take a moment to prep your workspace.
-
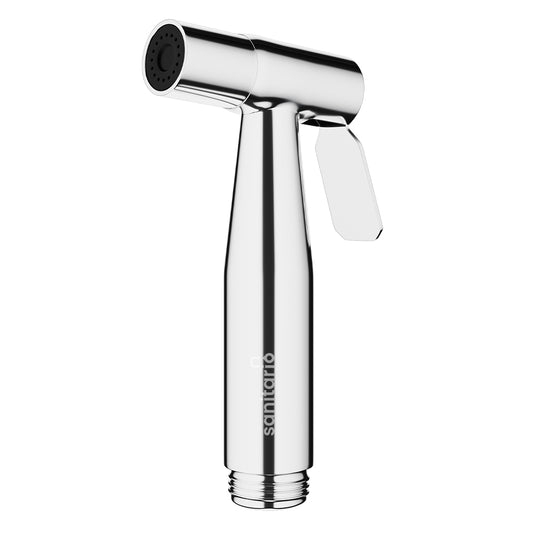
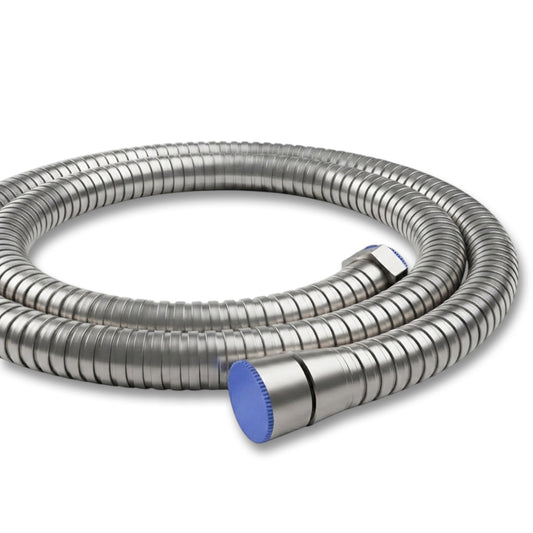
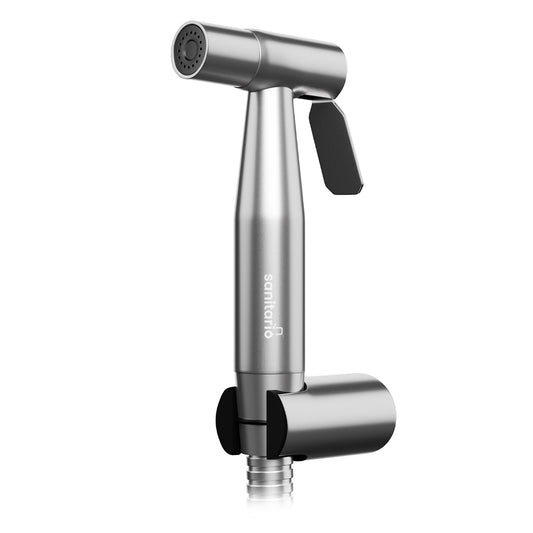
Check the kit: Make sure you have all the parts. Your set should include the shower panel, overhead shower head, hand shower, health faucet, thermostatic mixer, hoses, flanges, washers, and necessary mounting screws.
-
Mark the fixing holes: Use a pencil and leveler to mark the exact points on the wall where your panel will be mounted. This helps avoid mistakes and ensures the panel is straight.
Secure the Panel to the Wall
Now that your area is prepped, it’s time to fix the backbone of your piano shower setup—the panel itself.
-
Wrap the brass legs: Take PTFE tape and wrap it securely around the brass legs. This prevents leaks at the joints.
-
Drill and mount: Using a drill and the screws from your kit, fix the panel to the wall at the pre-marked spots. Make sure it’s level and firmly in place.
Connect the Water Lines
With the panel in position, you’ll now handle the plumbing part of the job. This might sound tricky, but it’s quite straightforward.
-
Attach the shower arm: Connect the shower arm to the hot and cold water points coming out of your wall.
-
Install the flanges and washers: Slide in washers before tightening the flanges for added leak prevention.
-
Connect the pipes: Link the water lines from the thermostatic mixer to the hand shower and health faucet. Again, use PTFE tape on all threaded connections.
Add the Shower Components
Here’s where things start to come together. Attaching each part makes your system look more complete.
-
Install the overhead shower: Screw in the large shower head at the top, ensuring it faces directly downward.
-
Add the hand shower: Fix the hand shower holder to the wall. Most models use adhesive or a screw-based hook.
-
Connect the hose: Attach the hose from the mixer to the hand shower. This usually clicks into place easily.

Test Everything
Before you step back and admire your work, let’s test it.
-
Turn on the water: Slowly open the water supply and watch carefully for any leaks at the connections. If you see water dripping, turn off the water and tighten the joints.
Adjust temperature and pressure: Use the thermostatic mixer to find your ideal water temperature and pressure level. Make sure everything feels smooth and balanced.
A Few Tips That Make a Big Difference
-
Always check the manufacturer’s instructions: While this guide covers the basics, your specific model might have slight differences.
-
Don’t rush: Give each step the time it needs. A small mistake in sealing or alignment can cause problems later.
-
Seek help if needed: If you’re ever unsure about a connection or fixture, don’t hesitate to call a plumber. It's better to be safe than sorry.
Why This Matters?
Installing a Best Piano Shower Set isn’t just about having a new fixture it’s about elevating your daily routine. A well-installed set makes every shower smoother, more relaxing, and way more enjoyable. Plus, doing it yourself saves money and gives you a sense of accomplishment.
You’ve now handled plumbing basics, tested fittings, and securely installed a stylish, modern upgrade to your bathroom. Whether you were motivated by design or function, this new setup will deliver both.
Conclusion
Most people think installing a piano shower set is a job for a pro but now you know better. With steady hands and a clear guide, you’ve done it yourself. And not just done it done it right. So go ahead, turn that water on, step in, and enjoy the difference you just made. Sometimes, small home upgrades leave the biggest impact. And this might just be one of them.