How to Install a Kitchen Faucet: A Step-by-Step DIY Guide

Upgrading your kitchen faucet is a rewarding DIY project that can enhance both functionality and aesthetics. Whether you're replacing an old faucet or installing a new one, this step-by-step guide will walk you through the process, empowering you to successfully install a modern kitchen faucet on your own. With a few basic tools and careful attention to detail, you can transform your kitchen with a stylish and efficient faucet.
1. Gather Your Tools and Materials
Before diving into the installation process, gather the necessary tools and materials. You'll typically need an adjustable wrench, plumber's tape, a basin wrench, a bucket, a flashlight, and a towel. Additionally, make sure you have the new kitchen smart faucet and any included components ready. Having everything prepared in advance streamlines the installation and minimizes interruptions during the process.
2. Turn Off the Water Supply
Begin by turning off the water supply to the kitchen faucet. Locate the shut-off valves under the sink and turn them clockwise until they are fully closed. If there are no dedicated shut-off valves, you may need to turn off the main water supply to your home. Open the kitchen faucet to release any remaining water in the lines and relieve pressure.
3. Remove the Old Faucet
If you're replacing an existing faucet, disconnect it by loosening the nuts and bolts securing it to the sink. Use an adjustable wrench to disconnect the water supply lines and the mounting nuts. A basin wrench can be particularly handy for hard-to-reach areas. Once disconnected, lift the old faucet out of the sink. Clean the area thoroughly to prepare for the new installation.
4. Install the Faucet Base
Begin installing the new faucet by placing the base or escutcheon over the mounting holes in the sink. Make sure the base is centered and aligned with the sink's configuration. If your new faucet doesn't require a base, proceed to place the faucet through the mounting holes. Some faucets come with a rubber or plastic gasket that should be placed between the base and the sink surface to create a watertight seal.
5. Connect the Water Supply Lines
Attach the water supply lines to the corresponding hot and cold water inlets on the faucet. Use plumber's tape on the threaded ends to create a secure and leak-proof connection. Tighten the connections with an adjustable wrench, being careful not to overtighten and risk damaging the threads. If the supply lines are too long, use a tubing cutter to trim them to the appropriate length, ensuring a neat and tidy installation.
6. Secure the Faucet in Place
Once the water supply lines are connected, secure the faucet in place. Under the sink, use a basin wrench to tighten the mounting nuts onto the faucet tailpieces. Ensure that the faucet is stable and properly aligned. Excess movement may lead to leaks or damage over time. Take the time to double-check the alignment and make any necessary adjustments before proceeding.
7. Connect the Spray Hose
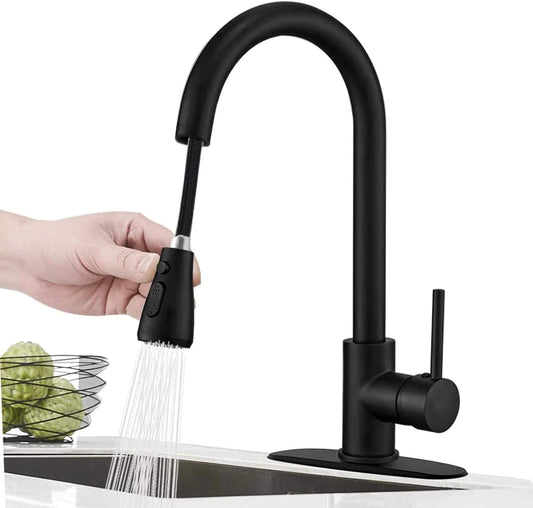
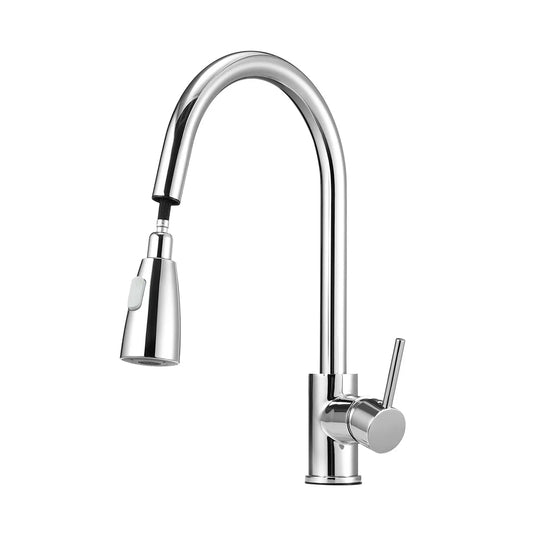
If your kitchen faucet includes a pull-down or pull-out spray hose, connect it according to the manufacturer's instructions. Typically, this involves attaching the spray hose to the faucet's body using a quick-connect coupling. Ensure a secure connection to prevent leaks. Some models may have a weight that needs to be attached to the hose under the sink to facilitate smooth retraction.
8. Turn On the Water Supply and Check for Leaks
With the faucet securely in place, turn on the water supply by reopening the shut-off valves beneath the sink. Slowly turn on the faucet to allow water to flow through the lines. Check for any leaks around the connections and, if necessary, tighten them slightly to eliminate leaks. Pay special attention to the water supply line connections, the base of the faucet, and the spray hose connection. Wipe away any excess water with a towel.
Conclusion
Congratulations, you've successfully installed a kitchen faucet! This DIY project not only enhances the functionality of your kitchen but also provides a sense of accomplishment. By following these step-by-step instructions and paying attention to details, you've transformed a crucial element of your kitchen with a new, stylish faucet. Enjoy the improved aesthetics and efficiency as you revel in the satisfaction of a job well done. Remember, with the right tools and a methodical approach, installing a kitchen faucet can be a rewarding and achievable DIY endeavor.


